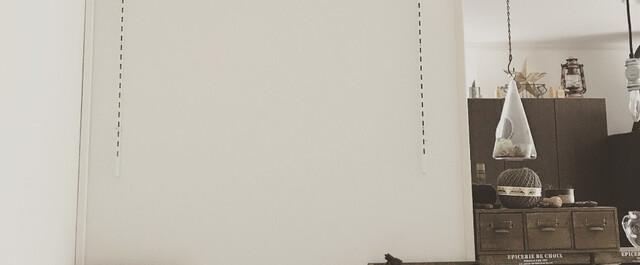
DIY storage shelves such as cluttered routers!
Storage of communication equipment, which has been a source of trouble for a long time. I don't want to show it, so I want to cover it with a cover! However, since it is a device that generates heat, it also needs to be breathable, so I managed to hide it without coming up with a good idea. Here is the photo at that time ↓
Each IKEA file box contains communication devices. It's nice to be hiding, but even if I wanted to check the equipment, the wiring was cluttered and it was difficult to take it out, which was stressful for the owner in charge of home appliances. I want to do something about this! Thinking about it, I started DIY.
[Material] Shelf pillar bracket Wooden shelf board Bispaint 100 Slatted shelves The shelf pillars and brackets are from Royal. I chose white to match the color of the wall. Please choose a suitable shape and size for the screw. First of all, paint the shelves and let them dry.
Next, decide where to place the shelves on the wall. Since we will make a shelf, it is best if the shelf pillar can be attached where there is a pillar so that it can withstand some weight. Find the position of the pillar using the base sensor. If you don't have a base sensor, you can knock on the wall and find it by the difference in sound, but we recommend using the base sensor to find the location of the pillar accurately. After deciding the mounting position of the shelf pillar, apply masking tape, mark the mounting position with a pencil, and mount the shelf pillar.
I will install it like this. If there is no pillar in the position you want to install, it is recommended to use a board anchor for reinforcement. After installing the shelves, secure the brackets to the shelves with screws.

The shelf was completed by fixing the bracket to which the shelf board was attached with screws to the shelf pillar. Place communication devices such as routers and modems here. If the wiring gets entangled, I think it's a good idea to purchase a cable box or a tool for winding the cable for 100 yen to make it cleaner. At my house, the outlet is near the top of the counter, so I laid the wiring down near the wall on the far left. At this time, if you prepare a material called a mall that you can get at a home center etc., it is possible to hide the wiring inconspicuously.
I bought three 100-square rectangular drainboards, cut one in half, and fixed it in a U-shape with a nail gun. The drainboard should be a blindfold, so if you don't have a nail gun, you may be able to fix it with a band. Then paint the U-shaped drainboard and place it on the shelf to complete it!
I could see the drainboard, but I couldn't see it. It was a moderate blindfold, and I was able to finish it neatly without feeling oppressive. Breathability can be secured ◎! The height of the shelves can be adjusted freely, and shelves can be added, so the width of the display can be expanded.
I am very happy to be able to clean up the area around the counter, which was heavy 😊 If you have trouble storing routers and modems that tend to be messy, how about this storage method?
Notice from LIMIA
If you are considering remodeling, "Hapisumu" ♡ ・ You can easily find out the local remodeling cost by comparing the estimates of the three companies!・ Service satisfaction 94%! The number of requests for quotations exceeded 100,000!
[Free] Try a batch comparison of remodeling